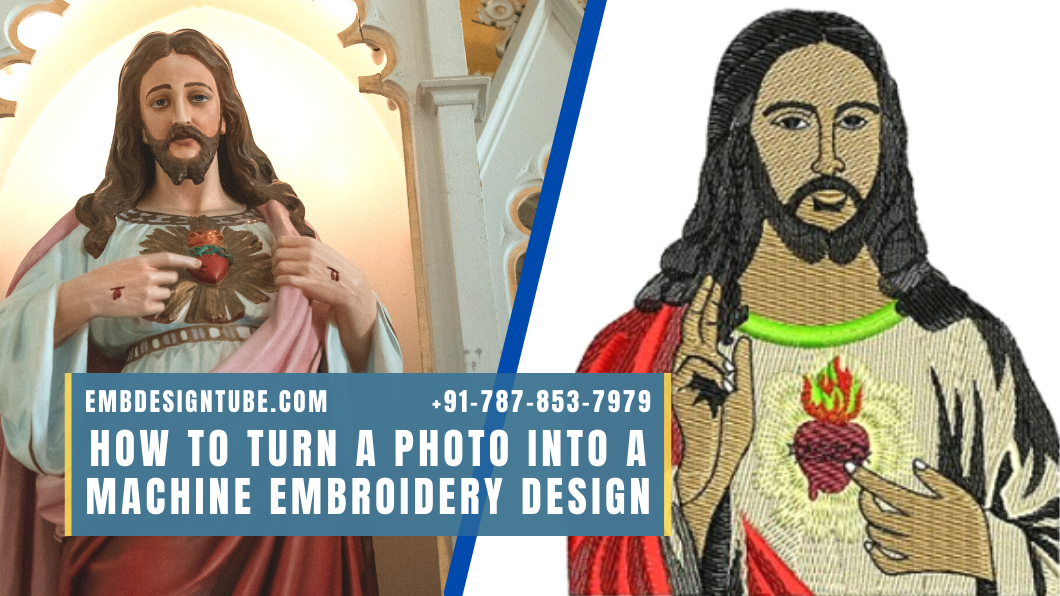
You can make a machine embroidery design by digitizing a photo. However, you need to create a duplicate image before digitizing a photo. You will also need to choose a stitch direction necessary for the conversion.
We have made this guide for you to make you an expert in creating a machine embroidery design. Read on to learn how to turn a photo into a machine embroidery design.
Creating a duplicate image before digitizing a photo
Before you begin digitizing a photo, create a duplicate image in SewArt. This is because SewArt allows you to save both the image and the embroidery design as one file. When making changes to the image, you can write them over the original image to ensure that your changes are reflected in the final design. If you're concerned about the colors, you can use Stewart's Posterize tool to eliminate speckles and create flat areas of color.
The next step is to convert the image file format into an embroidery file format. JPEG images, for example, are the most common type of image file for embroidery. However, they are more challenging to convert to a machine-readable format.
Embroidery machines usually require images with more than one color and background, making it challenging to stitch correctly. For this reason, creating a duplicate image is always a good idea before digitizing a photo for machine embroidery design.
Converting a pixel-based image to a vector image
Creating a machine embroidery design
You can follow these steps if you want to create an embroidery design out of a photo. You will need a PNG or SVG file, an accessible format for embroidery machines to understand. Crop the picture so it's the exact embroidery design size. Input the image size in inches or mm, and then lock the image. After the conversion, you'll be able to add borders and outlines.
You can use software like SewArt to turn a photo into an embroidery design. This software program allows you to create a machine embroidery design with any photo, which you can save together with the design. The program also allows you to edit the image's color, reduce the number of colors, and free a flat area of color. Once you've finished editing the photo, you can export the design to your machine.
If you don’t want to mess up with too much work like this, you can simply hire our professional embroidery designer team to create customized embroidery patterns for your business.
